Other Frameworks Integration
Welcome to another section of Lineicons documentation. In this section, we will share how you can integrate Lineicons with other frameworks like Next.js and Angular.
Lineicons offers better flexibility across various frameworks. The icon library makes icon integration and customization easy in any project environment.
Next.js Integration
Lineicons allows you to integrate Next.js projects with the icon library using the NPM package for easy installation and styling.
Step-1: Install Lineicons with the NPM package.
npm
npm install lineiconsStep-2: Now add the Lineicons CSS in your _app.js file to apply icon styles globally.
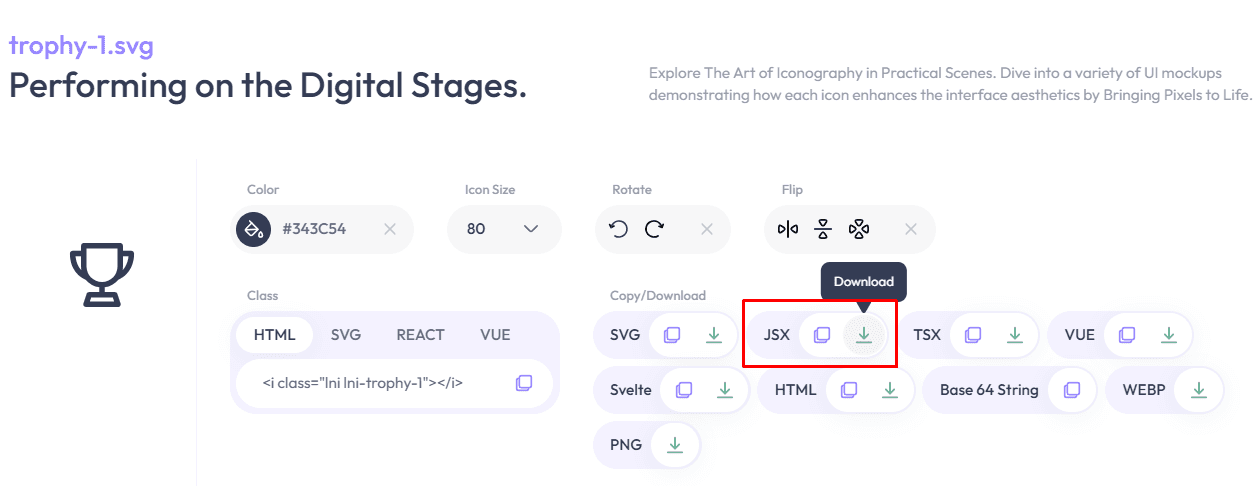
<link rel="stylesheet" href="./node_modules/lineicons/web-font/lineicons.css" />Step-3: Now browse the icons page, select the icon you need, and copy the JSX code snippet.
Angular Integration
Integration of Lineicons into the Angular framework is also very easy. You can simply import the CSS file to start using the icons.
Step-1: Install Lineicons via the NPM package.
npm
npm install lineiconsStep-2: Now add the CSS path to angular.json file under “styles”.
<link rel="stylesheet" href="./node_modules/lineicons/web-font/lineicons.css" />Step-3: Now add the icons in your Angular templates with the right Lineicons class.
Using Pro Icons
Pro gives you access to all 31,204 icons and works the same way as the free package.
Pro packages are not on the public npm registry, so npm install @lineiconshq-pro/... on its own will fail. Log in to your Lineicons account and download the package files from the Downloads page, then install them from a local file.
Download the Pro packages
Log in to your Lineicons account and open Downloads from the account menu. Download the .tgz file for each style you need: Stroke, Outlined, Solid, Duotone, or Bulk.
Move them into your project
Run this from your project root (change ~/Downloads if you saved the files elsewhere):
mkdir -p vendor/lineicons && mv ~/Downloads/lineiconshq-pro-core-*.tgz vendor/lineicons/Install the Pro packages
This installs every .tgz file in vendor/lineicons:
npm
npm install ./vendor/lineicons/*.tgzOn Windows, *.tgz is not expanded. List each file path instead, as shown in the Pro Packages guide.
Install the wrapper
Pro icons render through @lineiconshq/angular-lineicons. The Angular steps above use the icon font, so install the wrapper if you have not already.
npm
npm install @lineiconshq/angular-lineiconsUse Pro icons
Import icons from the Pro package for the style you want. Pro icon names have no style suffix, so the outlined AlarmError comes from @lineiconshq-pro/core-outlined.
import { Component } from "@angular/core";
import { LineiconsComponent } from "@lineiconshq/angular-lineicons";
import { AlarmError } from "@lineiconshq-pro/core-outlined";

@Component({
  selector: "app-root",
  standalone: true,
  imports: [LineiconsComponent],
  template: `
    <lineicons [icon]="AlarmError" [size]="48" [color]="'blue'"></lineicons>
  `,
})
export class AppComponent {
  AlarmError = AlarmError;
}
To get an icon’s import name, open it on lineicons.com/icons , click Copy Icon Name, and convert it to PascalCase (alarm-error → AlarmError).
Tip: You can install free and Pro packages together. If two imports share a name, rename one on import, for example import { AlarmError as AlarmErrorSolid } from "@lineiconshq-pro/core-solid";.
Commit vendor/lineicons so CI and hosting builds can install it, but only in private repositories. Never publish the .tgz files to npm or push them to a public repo.
For deploying, updating, and troubleshooting, see Pro Packages.
How to Customize Lineicons Icons
In both Next.js and Angular, you can customize the icons as you want. You can change the color, size, and placement easily. Thus, you can build a stunning and excellent user interface for your projects.